
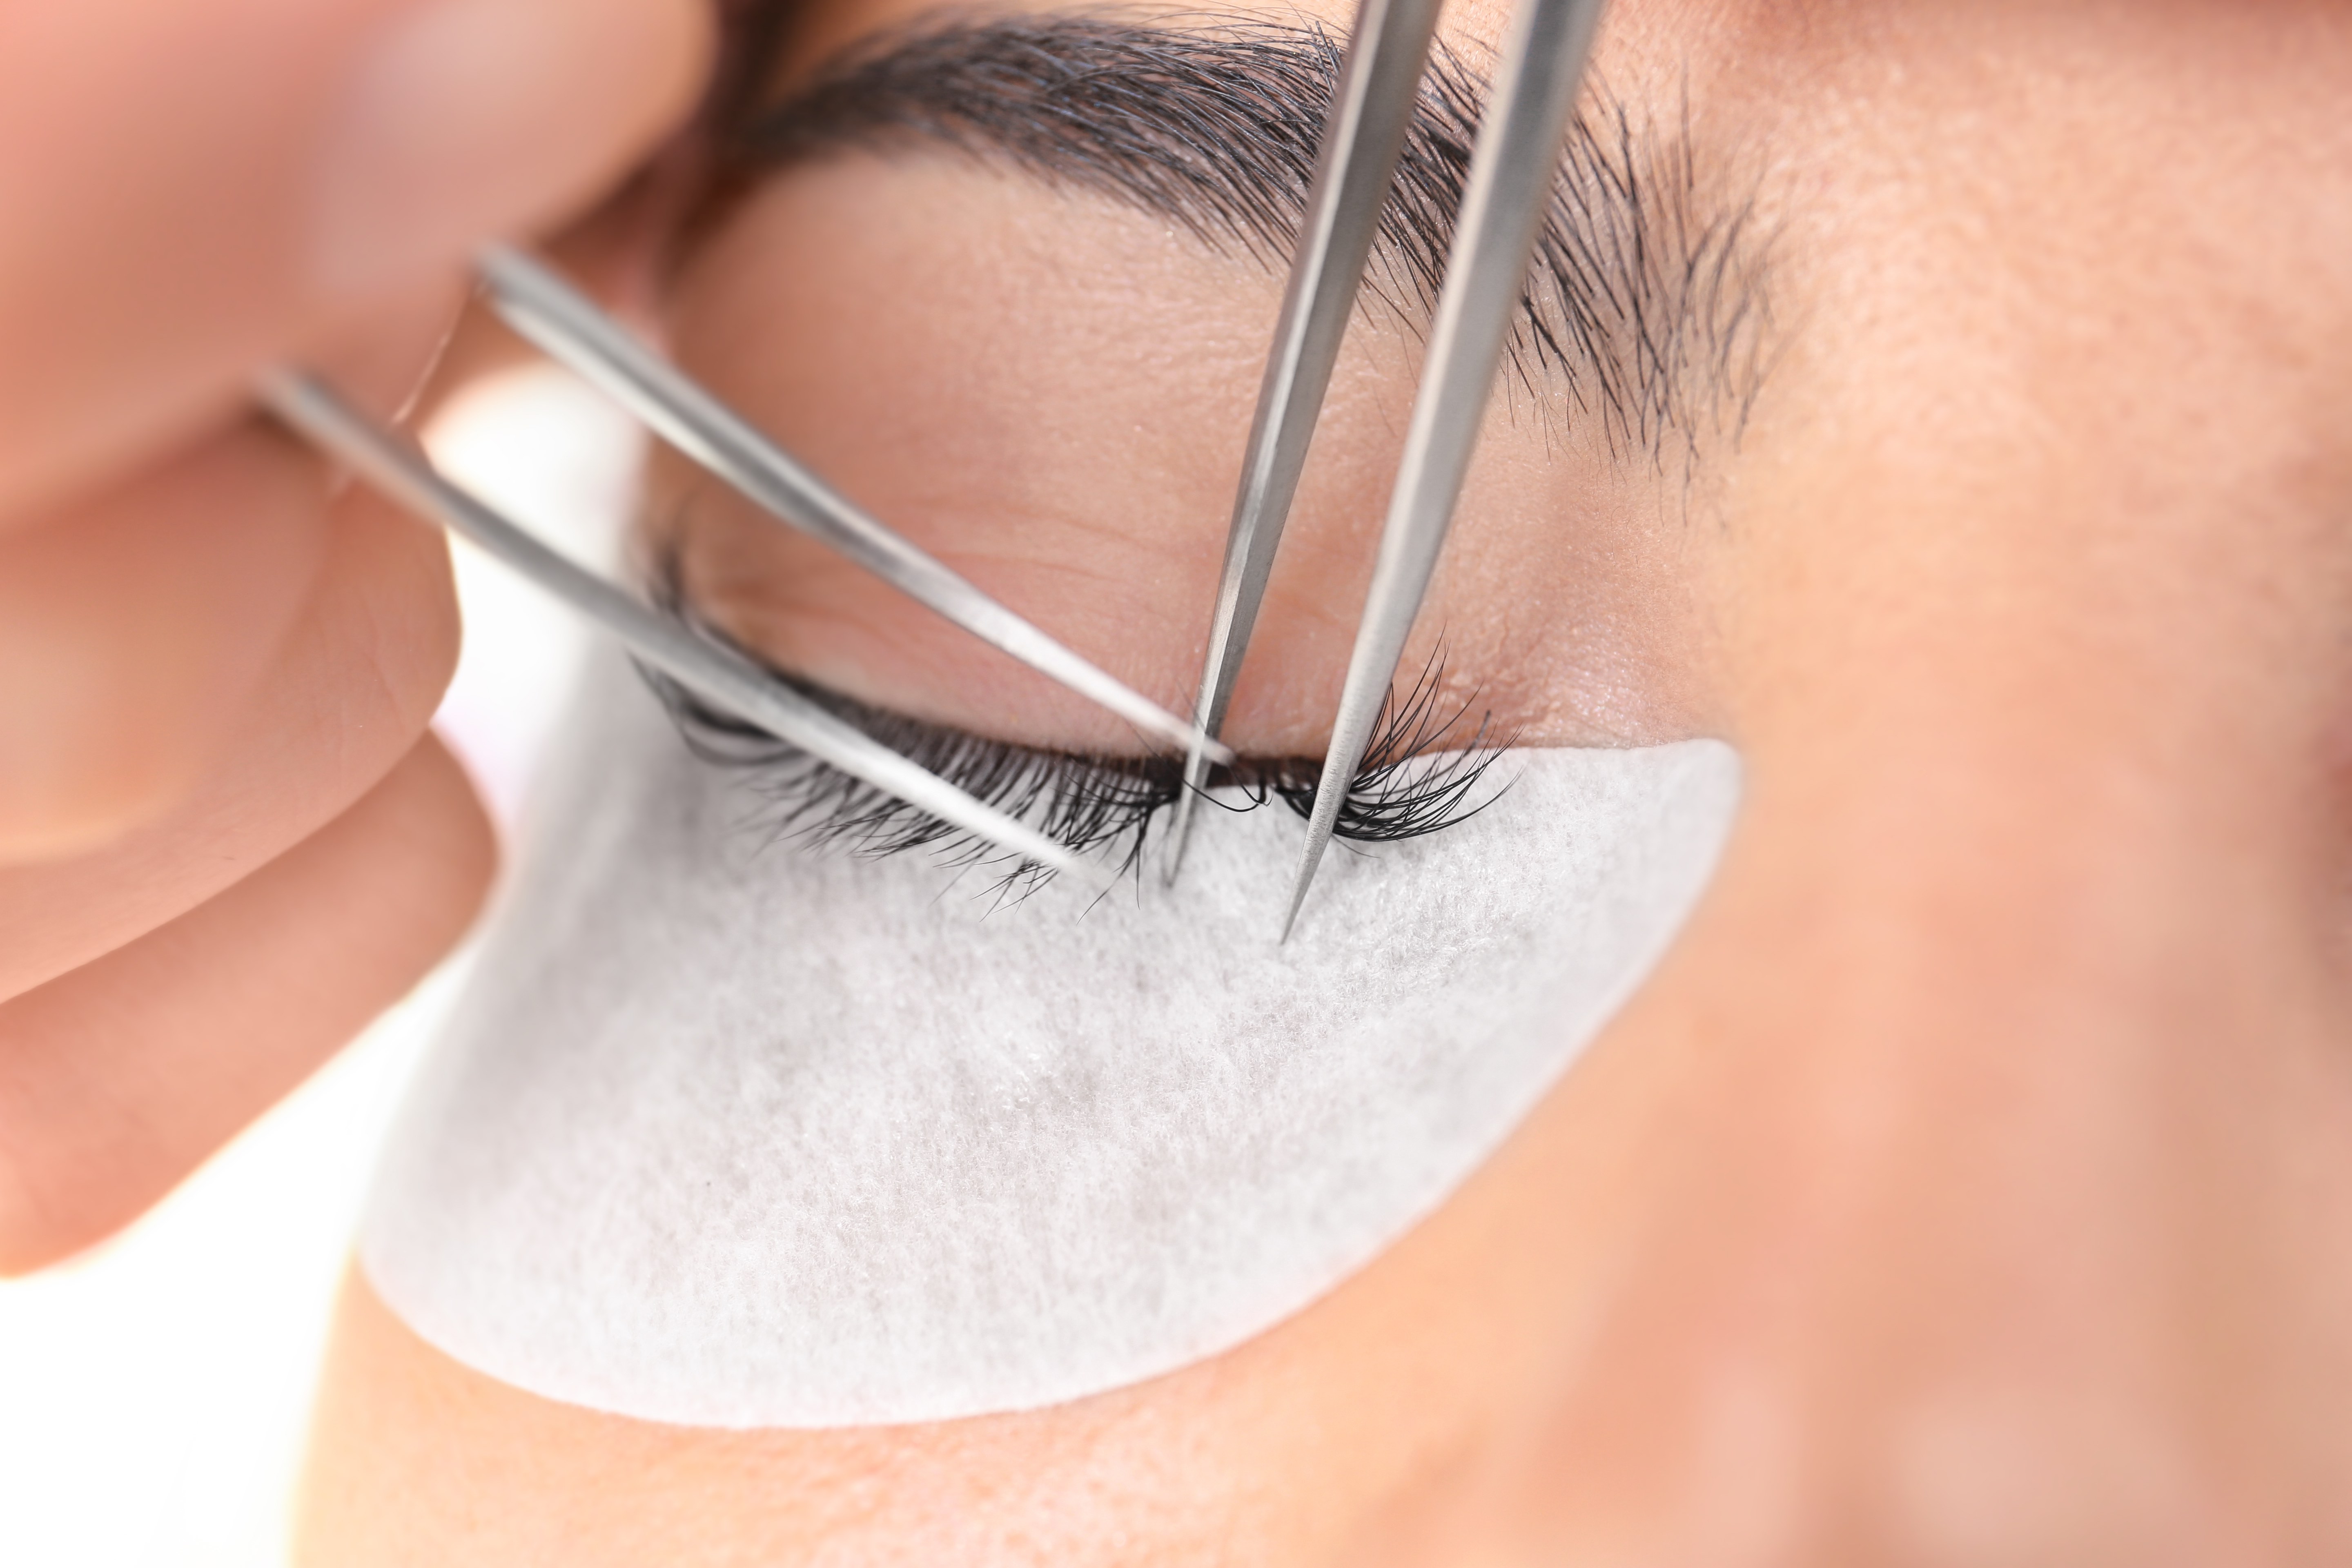
[Updated] Solved: 13 lash extension treatment troubleshooting issues
![[Updated] Solved: 13 lash extension treatment troubleshooting issues](https://d3sc42dkmius1e.cloudfront.net/Upload/669/CMS/News/Photos/368e69f4-13f.jpg)
When it comes to lash extensions, there’s a bunch of common issues lash artists face daily, from glue drying out to clients constantly fidgeting.
We spoke to the pros to get their top troubleshooting tips for lash extension treatments.
1. Start pre-treatment
Providing a consultation session ahead of the treatment ensures you are fully aware of your clients’ expectations and what they want to achieve, as well as meaning you can manage expectations – for example, if they have weaker natural lashes and want a full Russian volume set.
“We provide a thorough consultation with each client to understand which sort of lash look they would like to achieve. We aim to always cater to the needs of the client to achieve their desired look,” shares Hannah Walker, senior lash technician at Rawr Beauty.
“We will advise our clients through the consultation process to apply lashes suitable to the length and thickness of their natural lash. This is to prevent any damage. We always aim to keep the natural lash healthy!”
As is key with many beauty treatments, the best way to get stunning results lies in the preparation.
“Following the correct pre-treatment, you need to ensure that the client has absolutely no make-up dust or grime on her lashes,” says Daxita Vaghela, celebrity lash artist and resident at The Clinic at Holland Park. “Use shampoo or cleanser to remove all the residue and oils.”
2. Mapping is a must
Lash mapping is a great way to plan out which lashes you’ll use on your client to achieve the desired effect. By creating a guide on a lash pad, you ensure your client will leave with symmetrical lashes, whether you’re creating a natural lash look, full volume look, or something in between.
“Lash mapping can help you create a beautiful set without wasting time. Do mapping on the client when their eyes are open by using a brow pencil to mark on the middle of the eyelids, then ask them to close the eyes and then mark rest of the markings on the gel pads,” shares Vaghela. “This way it helps to create the perfect lay out of the lashes.”
Here's how to choose the right lash treatment for your client.
3. Fight the fidget
Lash extensions can be fiddly, and nothing makes it harder to achieve a perfect lash extension look than a fidgety client.
Zoe Nichols, head UK trainer for Novalash and author of “Lash lessons: the best mistakes I made in my eyelash extension career”, suggests providing a heated blanket on your lash bed to promote relaxation and stillness, and suggesting to your clients that they avoid caffeine ahead of their appointment.
Nichols asks lash techs to remember clients will be more fidgety due to not being able to see during the treatment, adding, “Remember to place the gel pads with the light off, then let the client know when you are going to turn the light on, start applying lashes, just doing a round of separation or just about to mist as they can’t see anything.
“It’s nice to know what’s going on, especially for a brand-new client who’s not used to a pamper.”
4. Tape down lash pads
It’s not just clients struggling to stay still, as eyelash pads tend to move around. “If you’ve got a client who likes to have a good chat, they do tend to move quite a lot,” says Rebecca Hood, owner of RH Lash, Brow and Make-up Academy.
An alternative to try is microfoam tape, which is gentle on the skin while also being secure. “I’ll just cut a little piece off and cut it in half lengthways, so you can use this for both eyes, and I then like to put little slits,” she says.
“The reason I do that is because everybody’s eye shape is different, so when you’re getting the lower lashes down, you can actually mould it to the shape of your client’s eye.”
5. Don't forget short lashes
When clients want long, long lashes, it can be easy to forget about how important using shorter lash lengths is for retention.
“I like to build up my strong, dark lash line with lots of 8mm first, and then add subtle length after,” says Sarah-Anne Barham, owner of Sarah-Anne’s Beauty. “This would suit customers who are after both natural and dramatic finishes, and it really helps with retention too! My customers come back roughly every four weeks for infills.”
6. Store your lash adhesive correctly
“Lash adhesive usually has a three-to-six-month shelf life,” explains Hood. “Once you’ve opened it you can stick a bit of tape on the side and write the date, so you’ll know when it’s about to go off,” she says. After a new bottle has been opened, you should store it in a cool, dark place.
“Glue should be in a cupboard or hidden away somewhere in the dark. I like to put it in a drawer so it’s out of direct sunlight and to keep it upright,” says Hood. “I use my microfoam tape on the bottom of the adhesive and put it away in my drawer, so it never falls over.”
“Exposing your glue to extreme changes of temperature can affect the consistency and usability of the adhesive,” adds Nichols. “Coming up to the warmer summer months, I’m careful to not leave my adhesive in direct sunlight or on a metal trolley next to a hot wax pot – it will ruin the formulation.
“And, if someone is a mobile therapist, they should always bring their adhesive with them and remember not to leave it in the car.”
7. Shake your adhesive regularly
Once you’ve opened a new adhesive, you might find it can become clogged. To stop this from happening, the glue should be shaken just before opening and daily thereafter, says Hood.
“I don’t tend to shake my bottle with the lid closed, I usually do it with the lid open and a lint-free pad on top because I don’t want any of the glue going up in the nozzle and causing any blockages, and I give it a really good shake for about a minute.”
When you start using a new adhesive, you may notice bubbles in the formula. “If you give it a little squeeze, you can get the air bubbles out, and that’s how to store your glue,” adds Hood. If you’re using a black glue, you’ll be able to tell how thoroughly it has been mixed.
“You have to be looking for a jet-black consistency every time you use a new glue dot – that’s your glue telling you it’s been shaken well and that it’s ready to use,” she adds.
Remember, not every lash glue needs shaking before use. Make sure to read the instructions when using a new glue for the first time.
8. Too much humidity will affect your glue
It’s important to consider the environment you’re working in, as the humidity levels can affect the lash glue.“Too much humidity, and the adhesive will dry too quickly. Too little, and it will dry very slowly. Either condition can cause problems with the application process,” shares Nichols.
“If your humidity is too high and you want to decrease moisture in the air, consider purchasing air conditioning or a dehumidifier. Lash artists working in a hair salon should be positioned away from the moisture of blow drying and other hair treatments that involve chemicals. It is even better if you have your own air ventilation.”
Hood explains that for your glue to polymerise, there needs to be enough moisture in the air to turn it from a liquid to a solid state. “You might find that your adhesive is drying too quickly or not quickly enough,” she says. “Usually, that’s the humidity – you’ve either got too much or too little humidity for that process to happen.
"The average UK humidity is between 55% and 65%, and we need that much moisture in the air for our glue to dry at a reasonable rate,” she says. A hygrometer will give you an accurate reading of the humidity in your salon.
If you’re a mobile lash artist, these are small enough to carry around with you. Hood agrees with Nichols in that “if you are in a situation where your humidity is too low or high, I would think about investing in a humidifier or dehumidifier”.
9. Your salon temperature will affect adhesive too
“Your temperature should be between 18ºC and 22ºC to prevent your glue going gloopy and sticky,” says Hood. “The temperature being too low isn’t a major issue, but if you do like a really warm environment, you might want to consider changing your glue a lot more often than you would if your room was cooler,” she says.
“I tend to have the temperature down a bit. If my client gets a little bit cold, I’ll wrap them up in a blanket, and I also have the windows open as well to keep some fresh air.”
10. Keep glue fresh
“I use about four glue dots every 20–30 minutes,” says Hood. “I don’t tend to use a ring because if I use a little dot, it’s fresher and you can keep changing it so you can keep it nice and fresh all the time.”
When you’re applying the glue, always dot in the middle. “That’s the part of the dot that’ll go off last, all around the sides of the glue dot will start to go off first,” she says.
“I always dip right in the middle and not on the sides, because I know that is going to go gloopy quite quickly.”
Nichols suggests using parafilm on the back of your hand to place the glue onto. “I apply a single use nitrile or vinyl glove to my non-dominant hand and then secure a square of parafilm along with the lashes, creating a lash palette on the back of my hands.
“Working from a neat bead of adhesive from the parafilm keeps the bead wetter for longer than a lash tile or jade stone – I did a full set at a client’s home like this – the humidity was 60% and I only used two beads of adhesive in two hours.”
11. Get the glue right
The amount of glue you’re using could also cause issues, as using too much or too little will affect retention, and potentially damage your clients’ lashes.
“If you get too much glue on your lash, scoop slower,” suggests Vaghela. “If you scoop slower, you will be more in control and cause less trauma to the client’s lashes and eyes.”
12. Reduce reactions with a nano-mister
“Some people have reactions towards the adhesive,” says Hood. “Usually, if you’re using a black glue, there are two different active ingredients within it that people may react to. One’s called cyanoacrylate, which is what makes the glue stick, and the other is carbon black, which turns that glue from a clear glue into a black glue.”
To reduce the risk of allergic reactions, a nano-mister can reduce the irritating effects of the adhesive. “If I’ve got a client who’s sensitive then I might use a nano-mister to shock the glue, just spraying over the eyelash extensions,” says Hood.
“It’s a controlled mist so it’s not going to get them soaking wet; it basically just seals the glue that you’ve put on and that will also stop the vapours from being around the eye area.” She explains that these vapours can stay around the eyes for 24 hours after the treatment, so by shock-curing the glue with water, it can prevent this from creating irritation.
13. Teach your clients how to cleanse their lashes at home
“It is very important to remind clients about cleansing their own lashes at home,” says Hood. “Infilling a client’s lashes is so much easier if they’ve been looking after them properly.”
Hood recommends retailing a lash cleanser to your clients to use every day with a cleansing brush to help prevent build-ups or bacteria.
“People can put them in the shower and when they use it will feel nice and clean and it avoids any contaminants on your clients’ eyes,” she says.
After a client has washed their hair, Hood recommends drying the lashes too to help them look their best.
“I do recommend to just use the hairdryer at a safe distance and fluff them all up again, especially if you’ve got Russian volume lashes,” she says. “Once you’ve cleansed your eyelashes and gently dry them off with the hairdryer, they go all fluffy again.”
Vaghela echoes the importance of educating your clients about aftercare, as she says, “Aftercare is a must! Tell your clients to shampoo at least twice a week. Offer them a little brush to comb them out every day and explain to them to avoid oils and keep dry.”

