Claws at the ready
By Suzanne Braithwaite
The witching hour is almost upon us. The spookiest day of the year is this Friday, and while you maybe ready for Trick or Treaters and getting your therapists in the mood with some "wicked" fancy dress. Are you ready to be swamp by last-minute clients wanting ghoulish and gruesome nail art?
Must have colours – white, black, red, yellow, orange!
Here’s some nail art inspiration to get you and your clients in the “spirit”!
SKULLS
OPI has created this simple skull nail art idea using colours Kyoto Pearl and Lincoln Park After Dark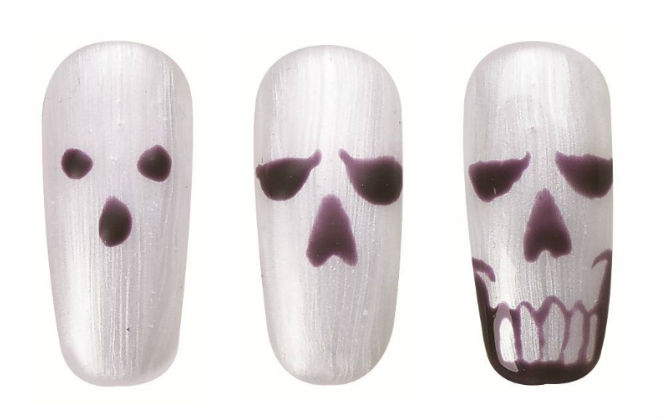
Step 1. Apply 3 coats Kyoto Pearl. Cure each coat for 30 seconds.
Step 2. Remove residue with Nail Wipe and N.A.S. 99
Step 3. Using a fine point brush, apply 3 beads Lincoln Park After Dark; shape eyes and nose with brush tip. Create cheek hollows, and outline teeth. Cure for 30 seconds.
Step 4. Apply Top Coat. Cure for 30 seconds. Remove residue.
BLOOD
Bio Sculpture has also devised a simple step by step to provide your clients with scary talons using colours French White, Seductive lights and Liquorice.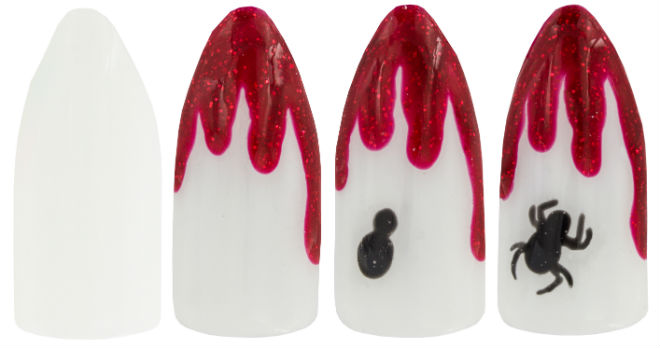
Step 1. Prep the nails and apply base, then apply two layers of Bio Sculpture French White, curing between each.
Step 2: Use a No.17 Nail Art Brush, and Seductive Lights gel to create the dripping blood effect. Start at the cuticle line and work towards the free edge, then cure.
Step 3: With a Spot and Swirl Tool and Liquorice gel, create a dot over the white and cure. This is your spider’s body. Then paint another, smaller dot above to add the head, and cure.
Step 4: Using the Nail Art Brush paint legs on your spider in Liquorice and cure. Finish with topcoat.
COBWEBS
Salon System educator Rachel Gribble created this cobweb nail design using the Gellux collection, colours include Black Onyx and Luna Light.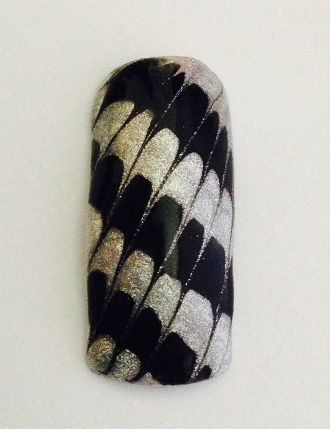
Step 1. Prepare nail and clean with Gellux Prep + Wipe and apply Gellux Fast Bond and allow to dry for 60 seconds.
Step 2. Apply Gellux Easy Off Base Coat, then cure, 30 seconds with LED, 2 minutes UV.
Step 3. Using Gellux Black Onyx, paint 3-4 diagonal lines across the nail; do not cure
Step 4. USing Gellux Light Luna, paint 3-4 diagonal lines in between the black lines across the nail; do not cure
Step 5. Run a striping brush through the polish, from the top corner of the nail to the bottom corner. Repeat this 6-8 times to create a web effect. Cure, 30 seconds with LED, 2 minutes UV.
Step 6. Apply Gellux Shiny Top Coat and cure, 60 seconds LED, 3 minutes UV.
Step 7. Wipe of the sticky layer with Gellux Prep + Wipe and apply NAILLUX Cuticle Cream to moisturise the skin around the nails.
Best from the web
We’ve also scrolled the web for eerie art…here’s some of the best.
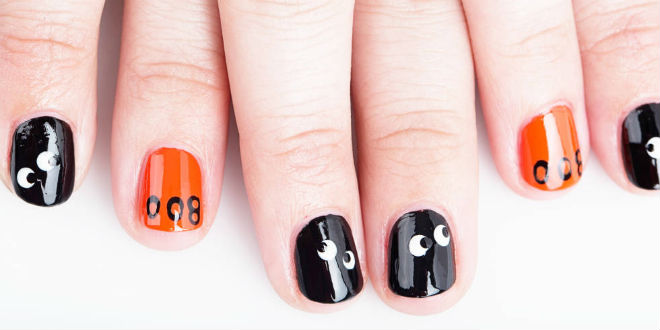
We love Elizabeth Griffin’s black with eyes and orange nail art – simple and effective…
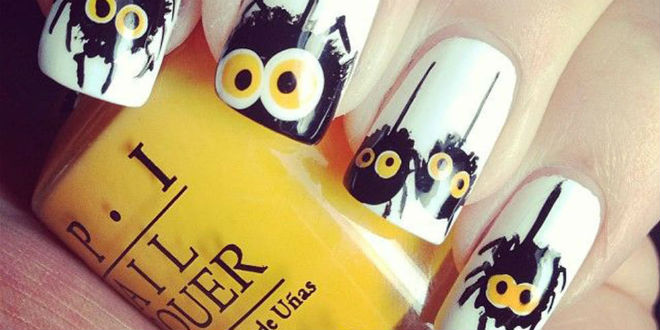
Totally the Bomb got all creepy and crawly with this spider nail art…
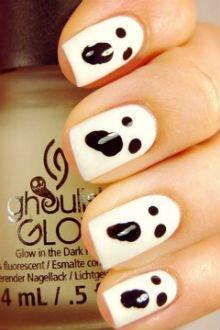
Ghosts are always a popular choice, Total Beauty used glow in the dark polish for this ghoulish effect…
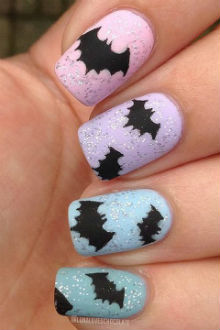
Finally from Twitter we found @Lunaloveschocolate bat-inspired nails. Loving the glittery twist…