Reviewed: Nail Harmony's Prohesion Acrylic course
Amanda Pauley visited Nail Harmony’s Essex headquarters to put its Prohesion Acrylic training course to the test.
At a glance:
Course: Harmony 101 – Prohesion Acrylic (Liquid & Powder) Comprehensive
Course Location: Unit 12 Stafford Industrial Estate, Hillman Close, Hornchurch, Essex
Duration: Three days (we attended day one) Price: £324 inc VAT
Open to: Students who have already attended a one-day Nail Essentials class and wish to learn full application techniques for Harmony Prohesion Acrylic.
My instructor for the day was Nail Harmony’s head of education and master educator for Essex, Jan Soar (pictured above), who has a passion for acrylic extensions. The class is suitable for those who have never used the product before as well as techs who have been put off acrylic because of bad past experiences. There were two other students on the course, Patricia from Sorbet Salon in London and Michelle, who is a home-based tech. Day one of the three-day course covered the basics; allergies and overexposure, brush prep and care, Prohesion product info, natural nail prep, bead practice, application over forms, and filing. We spent an hour and a half talking through the training manual, which is detailed, methodical and includes handy step-by-step imagery for every phase of application.
Top tips
Health and safety was a big focus as “the products are potentially hazardous, but not when used correctly”, explained Soar. For example, there are different ways the product can accidentally enter a tech’s body, such as being inhaled or absorbed. To prevent this, Soar advised us to put lids on dishes when not in use, to keep stations clear, to regularly empty bins outside and to keep the environment well ventilated at all times.
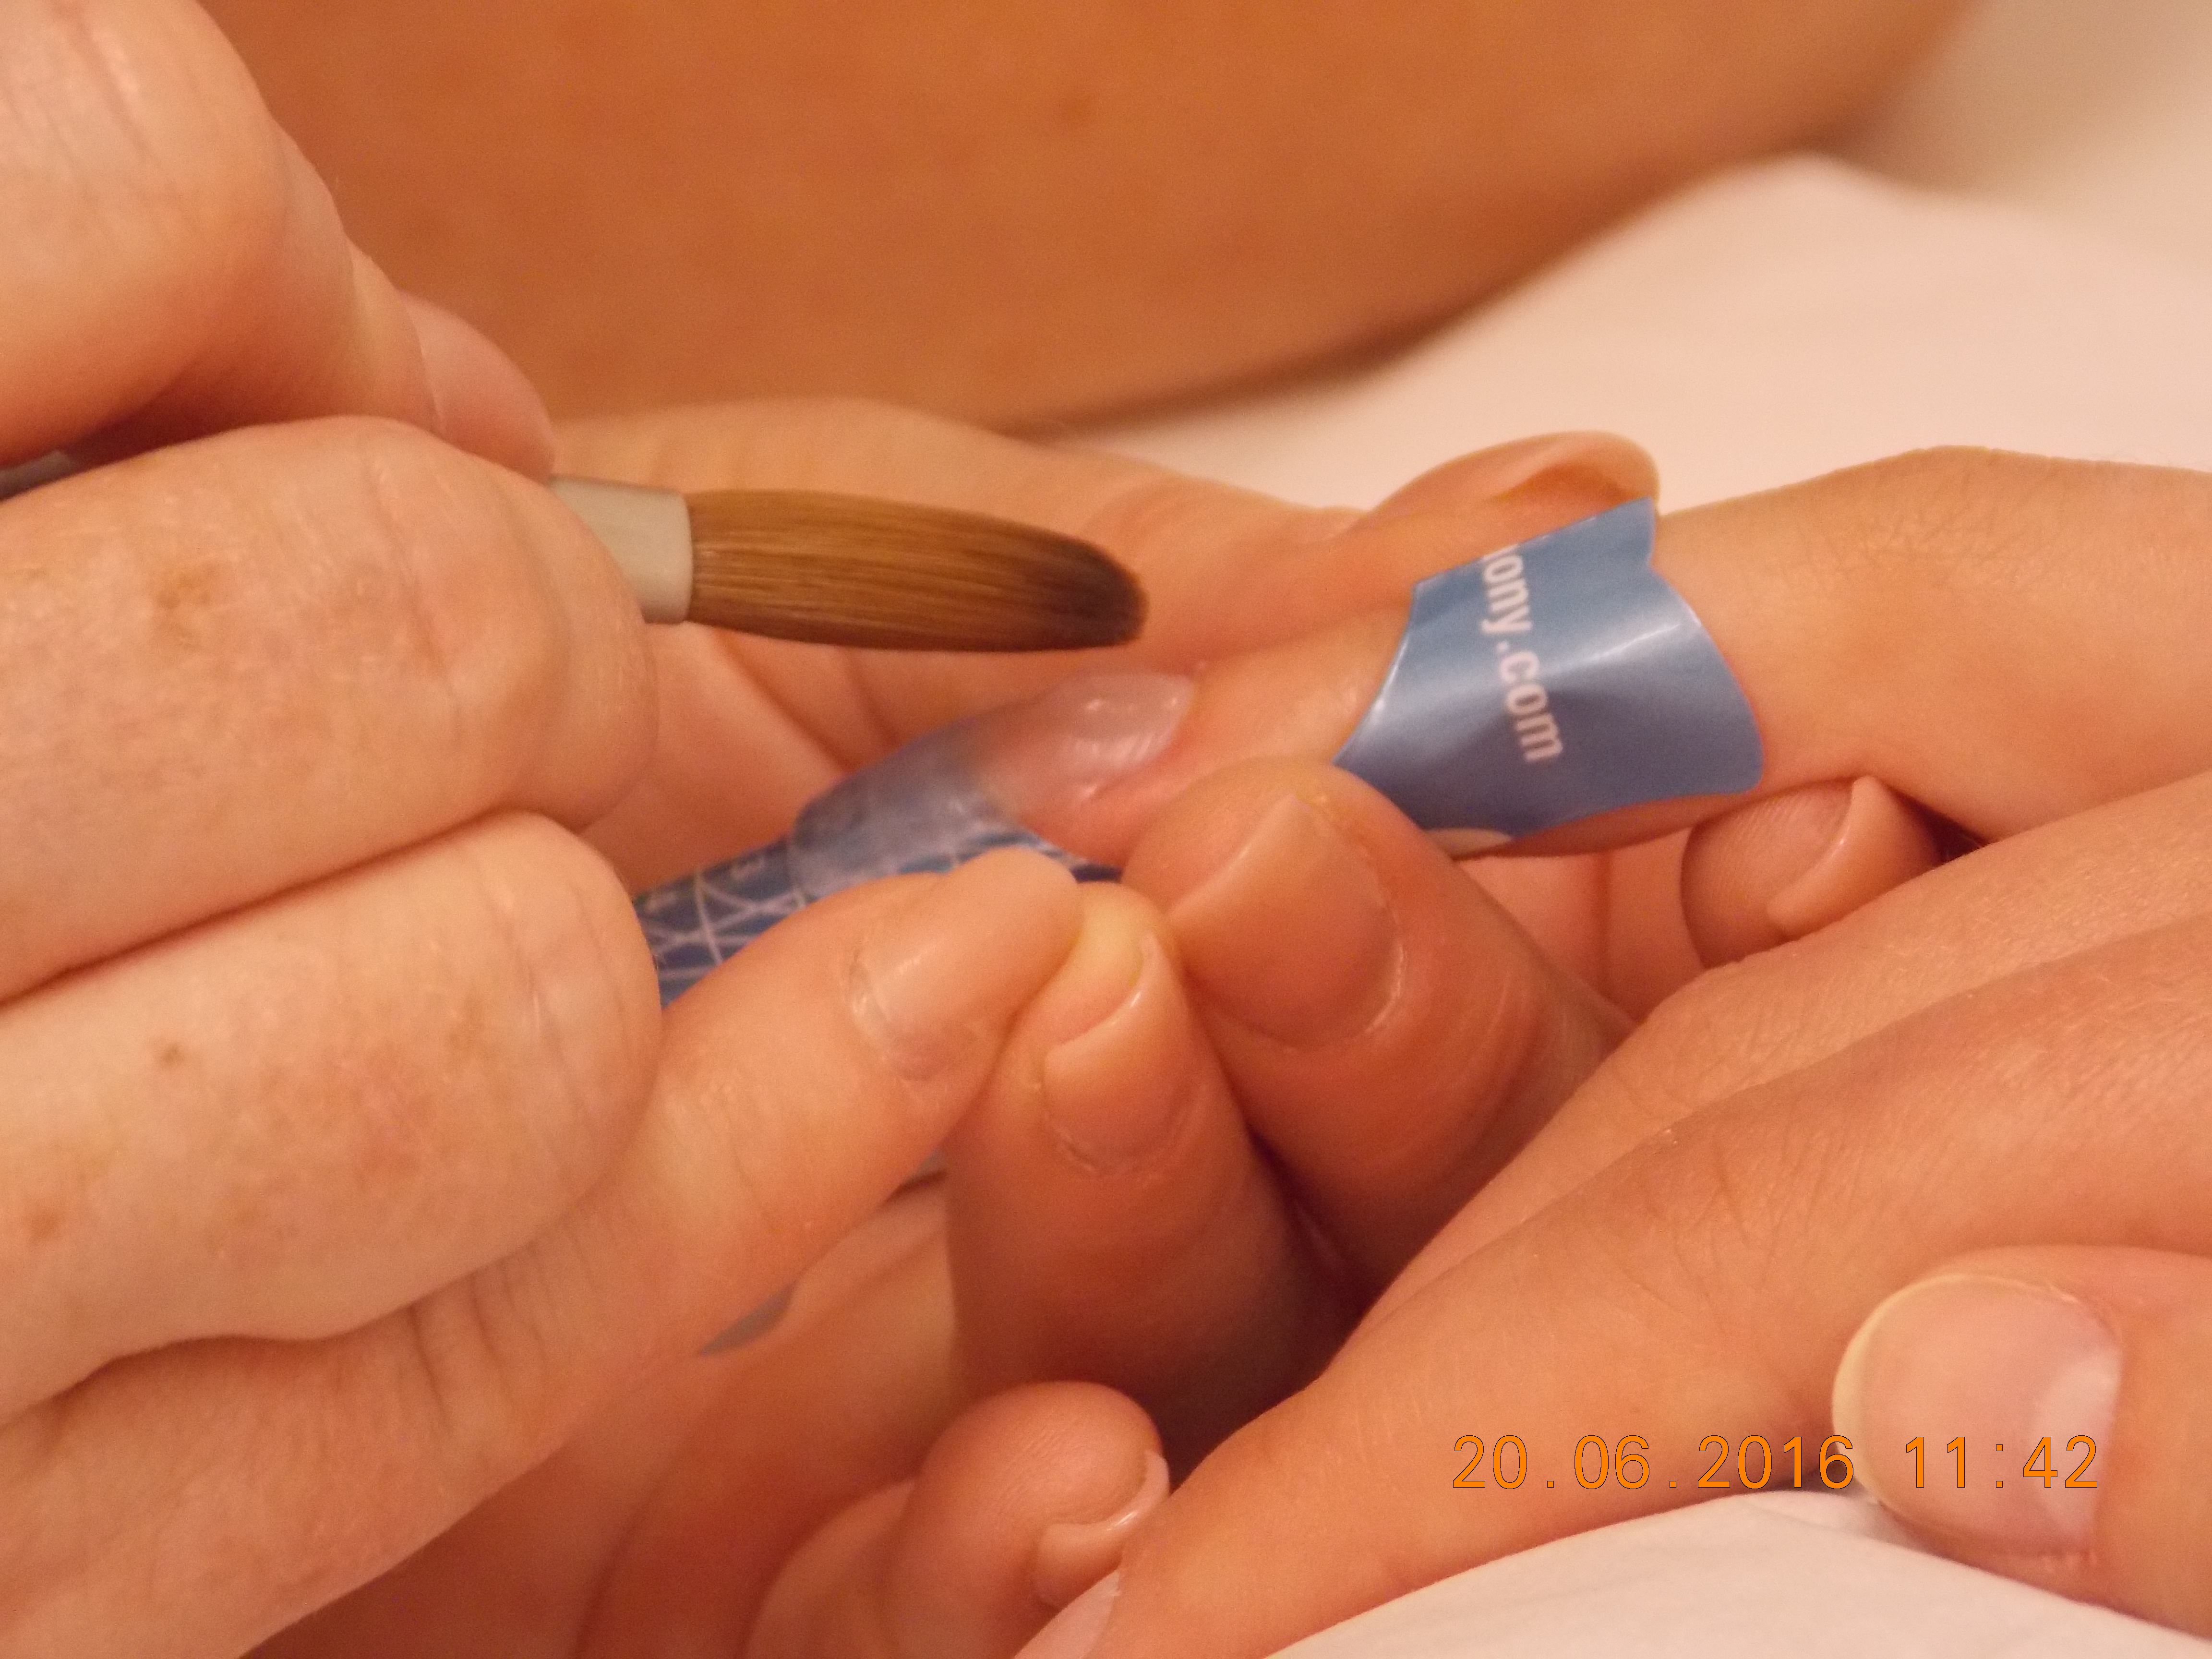
The rest of the day was about putting theory into practice. First we had to produce beads of varying sizes on a practice sheet to make sure we were working with the correct product ratio of liquid to powder – not too wet or too dry – before moving on to our models. The right ratio enables the bead to leave the brush easily, settling comfortably within the lines, but because of the product’s creamy nature it was initially tricky to master. However, after 10 minutes we were all producing workable beads with ease.
Bead work
Application over forms was by far the most difficult part of the course. Once the bead is placed on the nail you only have about a minute and a half to move it into position, which sounds like a lot of time but really doesn’t feel like it when doing it. Soar advised we aim for three beads per nail as it’s the most economical but that the stress area of the nail – the white area that appears when pressure is applied to the nail edge – needs extra support, so a thicker amount of product has to be applied there.
It was a struggle at first, with nail extensions that were either too thick or too thin, but Soar tended to everyone’s needs and gave lots of helpful tips; for example, when working the bead, she advised pressing the brush against it rather than gliding it because it gives a much better finish. With this product it really was a case of practice makes perfect and when you got it right it was the best feeling.
The knowledge and guidance given by Soar was impressive and at the end of the day all students were feeling much more confident in their acrylic ability. She also told us we could contact her whenever we needed to for advice, which is invaluable ongoing support.
Check out all the latest courses happening in August on our Training Calendar.