Taking pictures of your clients’ nails can be difficult, but it’s necessary to effectively market your services on social media.
What is the best lighting to use when taking nail photos?
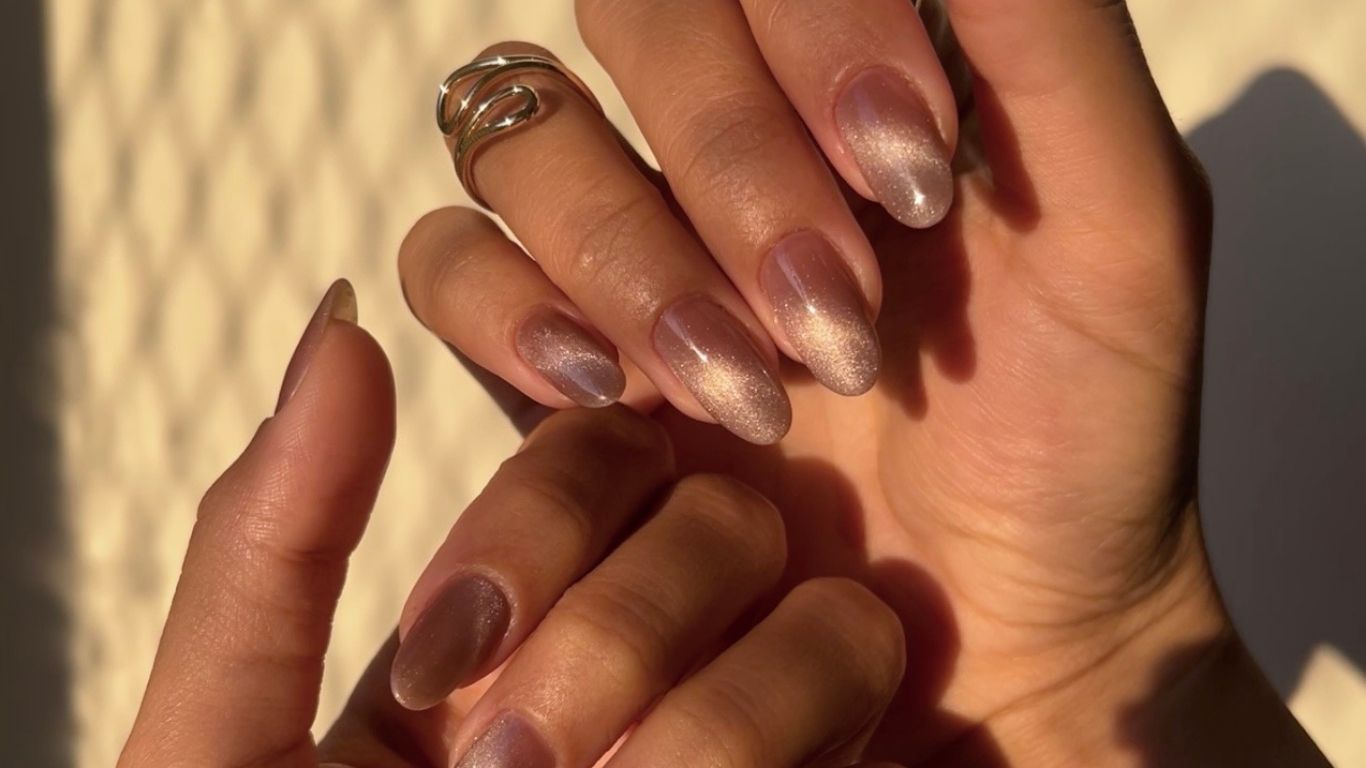
“Lighting is so important for nail photography, and I have found that a daylight bulb works best,” says Rose Jones, Winchester-based nail technician who specialises in BIAB, gel extensions and nail art.
“I would avoid warm-toned white bulbs, as these can leave your photos looking quite yellow, which can throw off the client’s skin tone and the colours used on the nails.”
“I like to take my pictures near a window to get some natural light in the shot, but I also like to use some artificial light,” shares Kira Johnston, Elgin-based nail technician. “This combo will always be a winner in my books.”
What is the best background to use for nail photos?
“I've had a few different tabletops over the course of my nail journey, but more often than not a simple black or white background works best, as too much happening in the background distracts from the nails,” explains Jones.
“You need contrast with the background too, so if I have darker nails I'll opt for a light background and vice versa,” she adds.
Johnston shares similar views, adding: “You don’t want the background to be the main character of the show.”
If you want to switch your backgrounds up without relying on tabletops or backdrops, Johnston suggests turning to a light-coloured flooring or outside on a pathway.
How to pose hands when taking photos of nails
A hot topic of discussion is which hand pose is best for nail shots. "There are lots of hand poses on social media now, but my advice is to choose a few that are easy for your clients to pose for, and ones that show as many of the nails as possible," says Suzanne Clayton, nail educator and business mentor.
"Clients want to see what colours or nail art looks like on a whole hand, and both hands if possible, rather than just one or two fingers. They want to be able to imagine it on their own hands to judge if the colour is too bright or the design is too much.”
"Your social media will look far neater if you have consistency in your images, and this means using the same poses for a few posts at a time or every other post, for example."
If you’re struggling with posing your clients’ hands, Johnston notes: “After some time I’ve realised that the positioning isn’t too much of a problem when you can use editing to flip a picture or rotate a picture to your liking.”
What is the best composition when taking nail photos?
You’ve selected your background, you’ve set up your lighting and now you know how to pose your clients. Next up is composition – the arrangement of the visual elements within the frame to make the photo more compelling or engaging.
“Depth is key to composing an image. If you place the nails directly onto your desk or backdrop, the image will look flat. If you lift them up and create shadows behind, you add depth which is much more visually appealing,” explains Jones.
“Another tip is to add depth between the hands by placing them on top of each other,” she adds.
When considering how to make a photo more compelling, some nail techs may consider the use of props. While this is not to everyone’s liking, Clayton does highlight some benefits.
“Taking photos with some of the products you used in the manicure as props (or even in the background) will often catch people’s attention and generate interest in what you’ve used.
“Product bottles are also the perfect size to fit in clients’ hands so they work well for hand poses."
What is the best way to edit photos of nails and manicures?
Editing is common when it comes to Instagram posts, but for nail pictures, sometimes less is more.
“Editing an image is important too, but only lightly! You don't want to throw on a filter and call it a day,” says Jones.
“Subtle edits to the highlights, shadows, temperature and sharpness are all that is needed to elevate a photo. Most of the work should be done while taking the photo, so only light touch ups are needed!”
Jones reiterates that you want to showcase your work, not your editing skills.
Meanwhile, to help increase the focus on your clients’ hands and nails, Johnston suggests considering slightly blurring the background.
You might also like...
Nail techs: how to prevent contact allergies


