You may have mastered the art of the manicure, but are you just as confident when it comes to pedicures? Following the correct pedicure steps is essential for delivering a safe, effective and long-lasting treatment.
Knowing what to do – and when – not only improves results for your client but also helps nail technicians stay within their allotted treatment time while maintaining professional standards.
A professional pedicure should follow seven key steps: cutting and shaping, soaking, exfoliation, hard skin removal, masking, massage and nail polish application. Following the correct order improves treatment results, client comfort and longevity of the pedicure.
“Feet are notoriously dry and more difficult to deal with than hands, so ensuring the correct procedures are followed will enable you to perform the treatment safely and thoroughly,” says Derby-based tech Melanie Lewendon, founder of Melanie Lewendon Academy.
What are the key steps for a pedicure treatment?
Here, Lewendon shares seven key steps that will give a better outcome and a longer-lasting pedicure for clients...
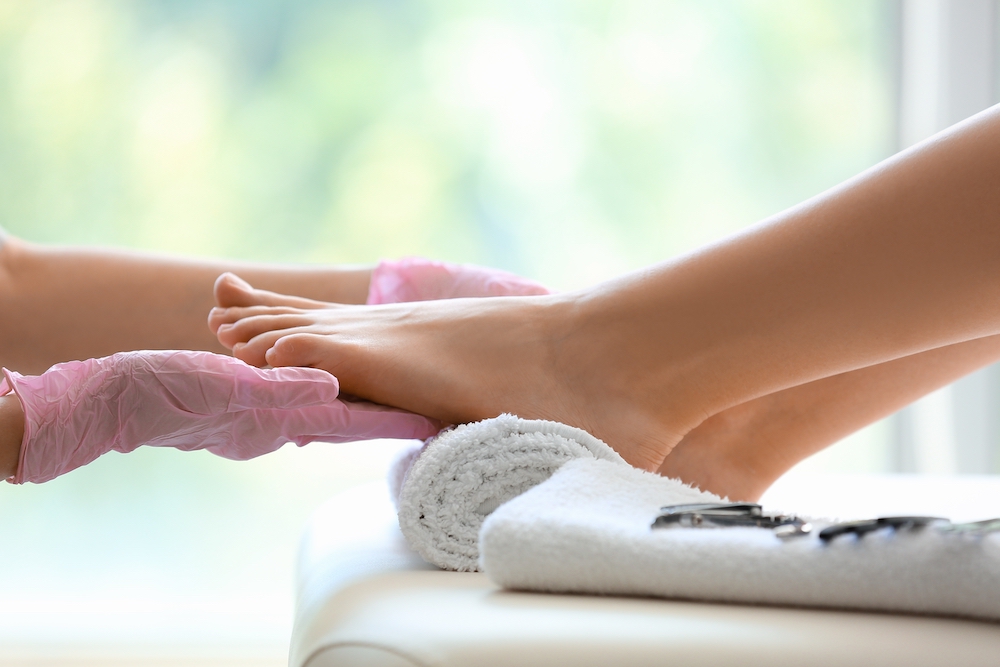
Step 1: Nail cutting and shaping
Cut and shape the toenails on dry feet, working straight across to reduce the risk of ingrown nails. Avoid cutting nails too short and refine the shape with a file before moving on to soaking.
Step 2: Why is soaking important in a pedicure?
“Although soaking for a long period of time is not advised due to the softening of the nail plate, soaking enables hard skin to be softened ready for easier removal by the therapist,” says Lewendon. “It also helps soften cuticles and is great to cleanse the feet before you start work.”
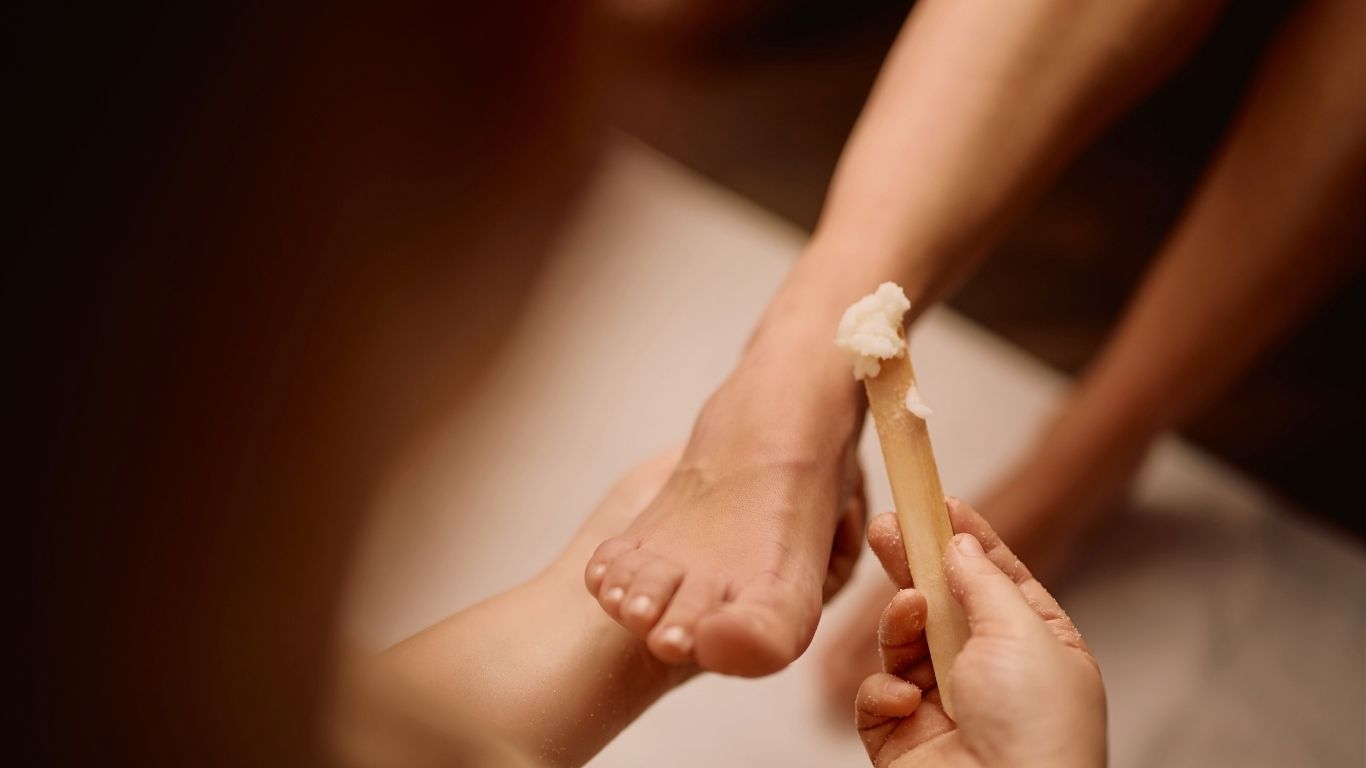
Step 3: The importance of a foot scrub in a pedicure treatment
“Exfoliation is key to dead skin removal which in turn creates brighter and softer skin. It also enables products that follow to absorb more easily. The stimulation from an exfoliation is also great to promote cell renewal,” adds Lewendon.
Step 4: What to remember when removing hard skin in a pedicure treatment
“This needs to be done gently, taking extra precautions not to damage the client’s soft tissue by rasping too much,” explains Lewendon.
Technicians should avoid areas of broken skin, inflammation or contraindications and adapt their approach for clients with sensitive feet or medical conditions.
Step 5: Should you offer a foot mask in a pedicure treatment?
“This step adds yet more moisture to the feet, and masks can come in a range of sensations,” she says. “Warming is great to open the skin’s cuticle to allow further penetration of product, cooling is ideal for clients with swollen feet as it can have a positive impact on circulation and tingly works well for stimulating nerve endings and reviving tired feet.”
Step 6: The role of massage in a pedicure
“All the different massage techniques do different things, including soothing, stimulating nerve endings, encouraging cell regeneration, easing tired muscles and calming,” she explains. “Feet take so much of life and to treat them is crucial.”
Step 7: Applying lacquer or gel polish for a manicure
“Ensure the nail has been dehydrated with nail polish remover or IPA, and then allow each coat to fully dry. Encourage the client to bring flip flops to their appointment too and always finish with a good cuticle oil,” she adds.
You might also like: