
A perfect, long-lasting manicure starts with expert nail preparation tailored to each client.
From cleansing the nail plate to cuticle care and shaping, every step matters. In this article, Professional Beauty speaks to nail artists Jessica White, Julie-Anne Larivière, and Jodie Keen to share the best professional nail prep techniques for perfect results every time.
How to start a manicure: Cleansing and prepping the nail plate
According to Jessica White, award-winning nail artist and owner of Blanc Studio Leeds, the foundation of a perfect manicure is clean nails. “It’s important to make sure the nails are completely clean and free from oils, creams or old polish as even a trace of residue can stop your products from lasting as long as they should,” she explains.
How to prep cuticles for a manicure
Cuticle prep is a crucial step that should never be rushed. “Well-prepped cuticles create a clean, professional-looking base and help polish or gel adhere better – meaning your manicure lasts longer,” says White.
Julie-Anne Larivière, manicure educator and specialist, clarifies that understanding the anatomy of the nail is key. “People often call the proximal nail fold the cuticle, when in fact cuticles are the dead skin fixed to the nail plate and are quite often invisible to the naked eye,” she says.
Jodie Keen, Kent-based BIAB and nail art specialist, recommends gently lifting the cuticle with a wooden stick before using cuticle scissors for precision trimming. “Lifting first helps remove trapped dead skin without damaging the natural nail,” she says.
Keen also recommends taking the time to gently remove any remaining dead skin off the nail, explaining that this can help prevent lifting.

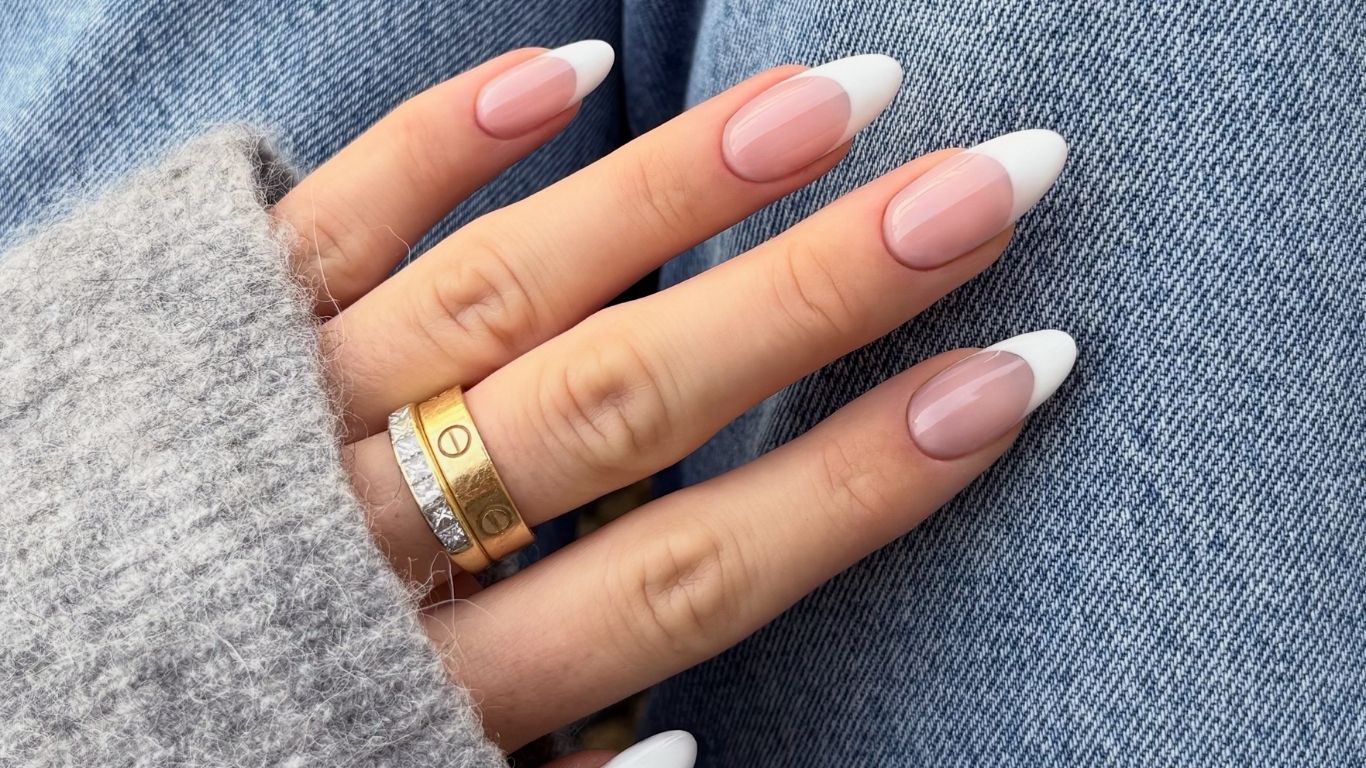
How to choose the best nail shape for a manicure
Nail shape should enhance the client’s natural nail and hand structure. “File with a soft 240-grit file to avoid splitting, and choose a shape that flatters your client’s natural nail,” advises White.
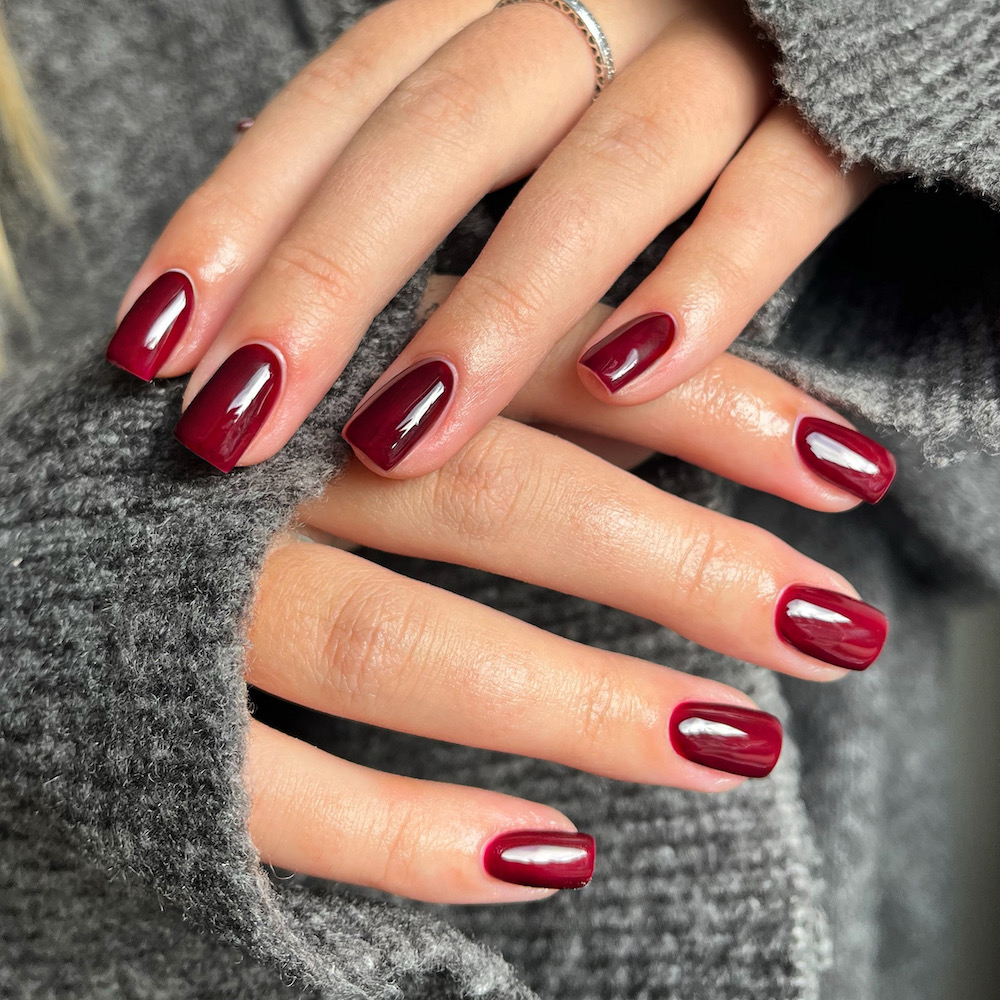
- Oval or almond shapes elongate wider nail beds.
- Squoval or rounded square shapes suit narrow or long nails.
A consistent, symmetrical shape helps every manicure look polished and professional.
How much should you buff nails for a manicure?
“Always remember that buffing is about creating a smooth canvas, not removing layers,” highlights White.
“I like to give the nail a gentle once-over to take down surface shine; anything more can lead to thinning or breakage, causing your manicure to chip or lift prematurely.”

Do you need to prep nails with any products before a manicure?
Before applying polish or enhancements, always check the manufacturer’s guidance for your product system.
“For example, find out which product they advise to use to clean the nails, or whether a primer or bonder is required,” explains Larivière.
“Not all brands are this thorough, so it is wise to make sure you understand your system and follow each suggested step, otherwise this can severely impact how long your enhancement work will last.”
By following expert guidance and tailoring your approach to each client, you can create flawless, long-lasting manicures that showcase your technical skill and professionalism – and keep clients rebooking.
You might also like:
- How to choose the right speed and grit for your e-file
- The truth about nail cycling
- How to take better nail pictures
All images: Jessica White


